Feb 23, 2016

Cover Stitch Machine Tips, Techniques & General Info

Ever since I produced my first video on how to use a cover stitch machine, I've had countless views on this video AND we've had numerous requests to provide more videos on this topic.  My personal cover stitch machine is a Janome Cover Pro 1000 CPX .  I LOVE IT!  I know it is primarily used just for hemming.  It's a wonderful extravagance.  If you have the financial resources for one and the space for it in your sewing room (your special place), you might want to consider one.  Of course you can sew hems with your regular machine.  I did for years.  But I LOVE IT!

I just had a customer ask me...'What is a Cover Stitch machine?'

Please watch the following videos.   This is a 3-Part series.  Enjoy if you have one!


From hemming options to ripping our boo-boos to using the chain stitch for basting...I'm sure you'll learn just that little bit more to add to your quiver of knowledge.

Happy Cover stitching!


Feb 16, 2016

Skinny Stretch Pants

Not leggings...but simple skinny-legged pants sewn with a 4-way stretch heavy weight Ponte.
These were so super simple that I wanted to share the leg width change with you.


If you're wondering how much I skinny'd (if there is such a word) the legs, on my personal SFD Pants pattern blueprint with a low hip circumference of 36" the actual (master pattern) width of the front of the page leg is 7.5".  So, first of all I sized down 1/4" on each side - that removed 1/2", which left 7".  This removed ease to allow for the horizontal stretch factor of the Ponte.  Then for the front leg pattern hem width, I took it down to a finished width of 5.5".  Yup...that's right, I removed another 1.5" totally, which was 3/4" on each side.

For the back leg, the actual hem width, based on my 36" hip, is 9".  Remove 1/4" on each side for the stretch factor - this leaves you with 8.5".  The the final width of this skinny leg is 7.5".  That means I took off another 1/2" per side (or 1" more).

Even though this was a 4-way stretch fabric, it was too heavy for skin-tight leggings, nor did I want them as tight as leggings.

To help you out, there is also a free video in the Learning Center on how to narrow the leg width of your pants pattern.  You can go to http://www.sfdlearningcenter.com/Video_Library.html and look for Pants video P.6.11 How To Narrow the Pant Leg  
You can also find this on YouTube.  It should pop up here if you're reading this blog in your computer, tablet or smart phone.

To finish the waist edge of the pants, they are pull-on with 2" wide elastic.  Directions are in the bonus section for the Yoga Pants in the pants designing book - Pants that Mix n Multiply.

Have fun...enjoy your pants pattern.


Feb 9, 2016

Valentine's Treat just for you!

1/2 Price $50 Gift Certificate


Valentine's is just around the corner.  Gift yourself or a sewing friend with a $50 Gift Certificate from Sure-Fit Designs.
It's good for any SFD Kit, tools or vellum.
It's a great opportunity to get started with Sure-Fit Designs, stock up on Vellum or get the DVD you've been wanting.
And the best part is you'll get this $50 Gift Certificate for $25.
This offer is valid Feb 7 - 14, 2016.
Shop now!  Must be purchased from this special page link

Happy Valentine's
Glenda the Good Stitch!
 

Jan 26, 2016

The Wrap Belt - a 'Made in a Day' project

If you're looking for a unique and interesting belt accessory, there's no need to go further.  This wrap belt, which is closed with Velcro®strips  is fun and easy to design and can definitely be sewn in a day.    It's truly a 'Made in a Day' project.


It's a great accessory for a one-piece style of chemise dress when you want to dress it up with a unique belt.  It also looks great with this blouse and skirt combination.


In case you're interested, both the skirt and blouse are downloadable Fashion Leaflets.  The skirt is the Pencil Skirt: the blouse is the Princess Line Blouse.  Both are drawn from the SFD Dress Kit and can be found on this page - Digital E-Goods.

Check out your fabric stash and see what's suitable.  I used Dupioni Silk for the blue belt and a sequined knit for the black sample.

Download it for FREE

And the best part is, as one way that I can say 'thank you' for being such loyal Sure-Fit Designs customers and a part of the Sure-Fit Designs community, this downloadable Accessory Leaflet is one more gift free for you from Jan. 24 - 30, 2016. Make sure to click this link to download your complimentary copy.


Just in case someone might be reading this and is not yet an SFD member, please click on over to Sure-Fit Designs and make sure you sign up for the SFD newsletter at the bottom of the page - you just never know what free goodies will come your way.

Happy Sewing!
Glenda...the Good Stitch

Jan 19, 2016

Sewing Instructions Provided by Sure-Fit Designs

I so often am asked if Sure-Fit Designs provides sewing instruction steps.  Beginners are particularly worried that they might not know how to sew the pieces together and what should happen first.

Even though Sure-Fit Designs is primarily a fitting and designing system, there are sewing construction steps provided for specific designs in all the Dress, Pants, Shirt, Children's kits and in the Men's Instructional Package.  Here's where you'll find the information and though construction illustrations are not always provided, the instructions tell you what to do and in what order.


Sure-Fit Designs Pants Kit:  
  • How to sew basic pants together is provided on page 11 of the Pans Kit Instruction book. 
  • Sewing jeans is provided on page 23.
  • Sewing an elastic waist is on page 24.
  • Inserting a pocket opening (eliminates the need for a zipper and is extremely comfortable) is on page 25.
  • Inserting an inseam pocket is on page 25. 
  • Sewing a zipper fly front is on page 27.                                                                                                                                                                              


     Sure-Fit Designs Dress Kit:
  • Bodice sewing construction steps are found on the following video tutorials:       
    D.8.a Pt. 1-Fabric Choice/Layout/Cutting                                                         
    D.8.b Pt. 2-How to Sew and Press Darts                                                        
    D.8.c 
    Pt. 3-Sewing Shoulder & Side Seams                                                  
    D.8.d Pt. 4-How to Set in the Sleeve                                                                
    D.8.e Pt. 5-Staystitching/Pressing/Fit Evaluation  
  • Sewing a V-Neck (Dress or Shirt pattern)                                                                                                                                                                                                                                                                                                                                                                                                            
    Sure-Fit Designs Shirt Kit:          


    Sure-Fit Designs Children's Kit:
  • General instructions for sewing elastic back pants are found on page 16 of the Children's Kit Instruction book.
  • How to insert a zipper fly front is on page 17.
  • How to attach a bib to a waist edge is on page 18.
  • General instructions for sewing a shirt/blouse are on page 20.
  • Sewing a child's cross-over shoulder T-shirt is on page 21.
  • Sewing a hood on to a neck edge is found on page 22.
  • How to sew a tab neckline treatment is on page 26.
  • General skirt sewing instructions are on page 27.
  • How to sew a tab front is found on page 29. 
  • How to sew children's robes are on pages 30 & 31.
  • How to sew a girl's party dress is on page 32.                                                                                                                                                                                        

 Sure-Fit Designs Men's Instructional Package:                                                                                                                                                                                                                                                                        

  •   General sewing construction steps for men's pants is on page 12.              


Sure-Fit Designs Newest downloadable Fashion Leaflets:                                                                                                  
  •  Go to http://www.surefitdesigns.com/Downloadable-Fashion-Leaflets.html                                                                                                                                                                                                                                                                                                              
    Sure-Fit Designs designing book/DVD combinations:                                                                                                                                                            All new designs - each with complete step-by-step sewing construction instructions.  (Each book/DVD is designed specifically to go hand-in-hand with the Pants Kit, shirt Kit and Dress Kit.) In an effort to give you sewing guidance, first analyze your current resources.  Did you know all of these how-to sewing instructions existed in the Sure-Fit Designs kits, patterns, books and leaflets?  Use this information as a handy guide to find what you might be looking for. Second, so you have a stockpile of existing commercial patterns?  The sewing steps provided on the accompanying guide sheets provide an excellent source of instruction.  Their pattern may not be exactly what you are wanting to sew, but if there is any similarity in design to what you are creating, their instructions can be a great resource. Third, do you have any general sewing construction resource books?  There are a number of comprehensive books available that not only provide construction techniques, but will also provide step-by-step procedures.  My favorite is the Vogue Sewing Book.  It's a thick resource guide and well worth the investment.  For more information on how to sew the garment together read this article Part 1: Sewing Construction Guidelines
                                
                                                                                     
  •  Pants that Mix 'n' Multiply  
  • Sew Sensational Shirts 
  • Beyond Bodice Basics   
  • As you can see (and read) there are truly lots and lots of sewing tutorials and sewing construction steps given with the Sure-Fit Designs fitting and sewing system.
                                                                                                                                                                                                                                                              

Jan 12, 2016

Demystifying Sewing Construction Steps

What fun...drawing your own patterns, particularly when you know they're going to fit...but how are you going to sew it all together? I am often asked if the Sure-Fit Designs fitting system provides sewing construction steps.  The answer is that some designs and leaflets have sewing steps, but not all of them do particularly when the construction is really simple.
When you're a beginner, often times, nothing is simple until you've sewn the process a number of times and become familiar with it.  And then as with anything you've learned, it becomes second nature.
In this blog, I'd like to share with you the generally accepted and established order of constructing a garment.  The steps make perfect sense.  You work with a flat pattern piece as long as you can until you have to sew an adjoining piece to it.  The fewer steps the better when it becomes a 3-dimensional shape.
And. after 50-plus years of sewing (like I've had), I rarely think of the process anymore unless it's a complicated design.  Then I begin at the beginning and think my way through the steps before I ever take the pieces to the sewing machine.
But when you're just starting out, it's important to understand that there is an established order to sewing any garment. The steps listed here are the industry standards. Use the list to refer to as often as needed, and soon, you'll find that it will be second nature to you.

1.  Darts, tucks and pleats.  Do these first and don't forget to press!

2.  Style lines like yokes and Princess lines. This does not include seam lines like shoulders, side seams or armholes.

3. Interfacing. Attach (either sew-on or iron-on) to any pieces that require it.

4.  Pockets. Apply them where indicated on the pattern.

5.  Zippers. Install any zippers required unless it is for a dress.

6.  Shoulder seams. 
 7.   Side seams, inseams, crotch seams.

8.  Prep collar. Do not attach it to garment yet.

9.  Prep sleeves.  This entails sewing the sleeve seam as well as any plackets, cuffs or elastic to sleeves. Also any gathering lines done in a baste stitch would be done now.  Do not sew the sleeve into the garment yet.

10.  Collars. Now is when you attach a collar to the garment.

11.  Bodice facings. Sew facing pieces together.

12.  Sleeves. Sew the sleeves into the armholes matching notches and remembering to gather the sleeve cap if needed.

13.  Bodice to skirt (if sewing a dress).

14.  Waistband. Or a waist facing or elastic if this is what your pattern requires.

15.  Dress zipper. 

16.  Hem.


17.  Buttons and buttonholes. Any closure such as hooks and eyes, frogs,snaps and belts should be done now.


Stay tuned next week for the list of SFD sewing patterns that do provide sewing guidelines and steps.


"The more you sew, the more your confidence grows." - Glenda the Good Stitch

(With thanks to Connie Crawford, The Industry Gide to Sewing Order.)

Jan 4, 2016

Circle Skirts

I've been asked by a few customers to give a tutorial on the circular skirt.  And so I'm going to share with you an excellent tutorial by Rhonda Buss of Rhonda's Creative Life.  I simply can't see any point in recreating the wheel when this tutorial is so complete.

First, let's take a look at the differences between the full circle skirt through to the 1/4 circle skirt, which is sourced from Claire at www.sew-incidentally.com.
This is such an excellent visual comparison of the results.


Now to get on with the tutorial, hop on over to Circle Skirt Tutorial by Rhonda Buss. 

Happy Sewing!

Dec 29, 2015

Out with the Old & in with the New!

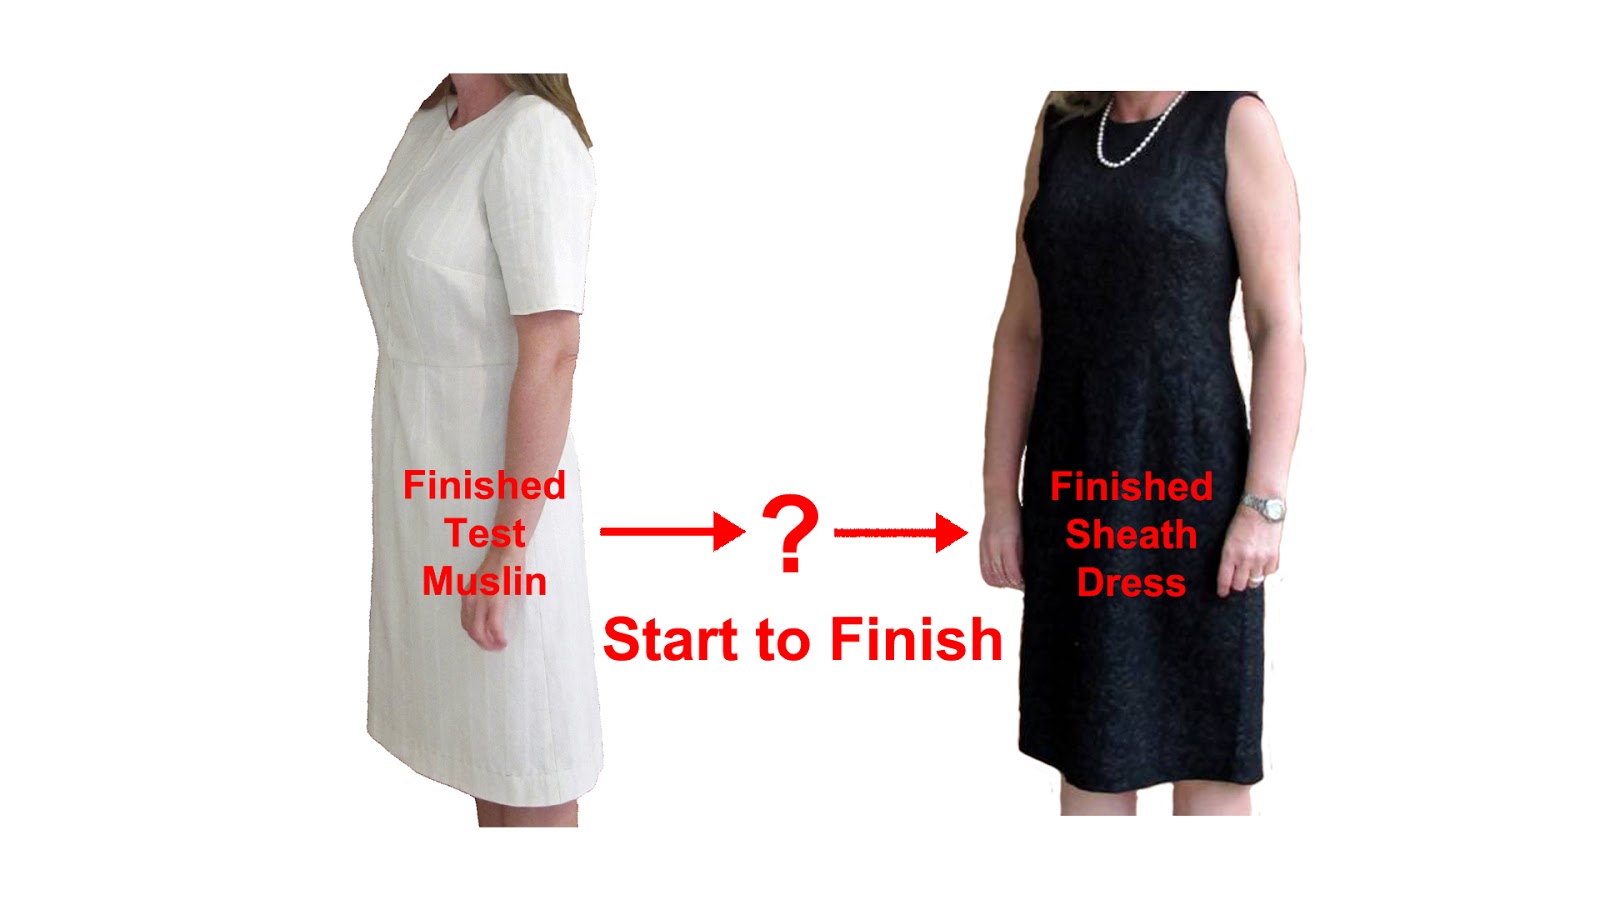
For the last blog post of the year, I'd like to share with you my latest designing video.  It's another one of my 'triple espresso' fast-forward videos showing you how to design the basic sleeveless Sheath dress.  Of course, you need to start off with your well-fitting SFD Dress Kit personalized dress muslin, just as our SFD customer, Caroline, has done.
 
Then, follow the directions in this Sheath Dress Designing video.  When the videos are the 'triple espresso' variety, they show the essence of the designing details without my superfluous talking (and I can tend to get carried away).


Caroline has added sleeves in the pink sheath dress version.  Whether with or without sleeves, when sewn with different fabrics, you'll achieve the best-fitting dress for so many different occasions.  It's a great way to use the fabrics in your stash!
 
We plan on filming more 'triple espresso' designing videos in the coming year along with other projects.  Please comment below if you like this fast-forward format...and what specific designs you might like to see.

Once again, I'll take this opportunity to thank you for being the best customers I could ever want!  Your loyalty and enthusiasm is what spurs me on to always be thinking of the next project to share with you.

Happy New Year!

Dec 22, 2015

Merry Christmas!


To you and yours...and to let you know how much we at Sure-Fit Designs appreciate each and every one of you.

'Tis the season to wish all of you a very Merry Christmas and an especially Happy New Year!