Showing posts with label Designing. Show all posts

Sep 27, 2016

Stripes Every Which Way!

Sure-Fit Designs Blog

What can you do with striped fabric?  Follow along as I show you a recent SFD Dress Kit T-Shirt design.  Here's the finished top.  But how did I get there?
I used my pre-drawn pattern for a Dress Kit T-Shirt.  You might remember an article on T-Shirt Tactics in the SFD Learning Center that shows you how to remove the dart from your Dress Kit Bodice Front to make a closer-fitting T-Shirt (than the SFD Shirt Kit would provide).

Previously, I'd used these directions to draw this Color-Blocked T-Shirt.  You might remember this design.

If you want the instructions for designing this color-blocked T-Shirt, they are only $1.99 and can be found on this page.
For this striped top, I used exactly the same pattern.  So that was just an easy tracing of what I already had.  Then I re-drew the midriff sections which looked like this.


I'd purchased this fabric during a sale and on top of that it was a remnant so I had limited yardage and had to be creative and conservative with the pattern layout.  Before I show you the result of stitching the segments together, the next illustration shows you the dimensions for each of the segments (keeping in mind my 5'4" body and the longer length that I wanted).


Once the actual fabric had been cut - (oh by the way - make sure when you cut your pattern apart on the relevant design lines that you MUST add seam allowances to each cut edge so that you don't loose any length) - I used the following angles for cutting the stripes.  The main top section, lower hip section and sleeves all had the stripes running horizontally.

Here's what it looked like when all the sections were sewn together:


It was OK, but just being gray with a black stripe, I thought it looked a little on the dull side.  What would it look like if it was solid black in segment #2?


So I ripped out the necessary seams, added the black, and the finished result looked like this:


I liked this a lot better knowing that I'd wear this top with either my gray paisley-patterned leggings or my black skinny leg pants.  I then used a narrow 2-thread cover stitch to decorate and hold the seam allowances in place.  You can barely see the cover stitching since the black thread blends in with the gray/black fabric.

Here's the finished top with the gray leggings and the second photo is with the black pants.


This fabric is another piece of the most comfortable cozy knit - it's a low loop terry that has a fiber content of 47.5% Soy, 47.5% Organic Cotton and 5% Spandex.  (This fabric came from Bolt Fabrics in NE Portland OR - a great little shop in a funky Portland community).  Yes it stretches in both directions and yes my pattern was sized down about 1 measurement dot all the way around.

One last comment...here's another option for you to lay out the stripes - the sleeves could either be vertical or horizontal.
 I know you'll enjoy this project...give it a try.

Happy Fitting & Sewing,
Glenda...the Good Stitch!


Apr 26, 2016

White Pants...Spring has Sprung

I rarely wear white pants, but I got inspired by our (finally) sunny April days after a month of less than desirable gray skies and constant rain in March.
JoAnn Fabrics has white stretch denim. The fiber content is 70% cotton, 28% polyester & 2% Spandex.  It's heavy enough to look similar to 100% cotton, but has the easy care of polyester and the stretch wearing ease of Spandex.


Since I didn't want to sew 'real jeans', I chose a combination of patterns and instructions from existing Sure-Fit Designs information, which is what I'm going to share with you.  And the best part is that since my pattern was from a previous pair of pants, they were sewn in a day, qualifying them for a Made in a Day project.

The basic style is from the pants designing book - Pants that Mix n Multiply - Style #1: Flared Leg Pants with Elasticized Waist Edge.
I wanted skinny legs instead of flared legs.  And I chose to crop the hem around calf length.
Watch this video on narrowing the legs.


Now the slightly stretchy fabric.  Did I size down or not?
I tested the stretch factor (comfortably stretching on the crosswise grain).


With the 2% Spandex, 10 inches actually stretch up to barely 11 inches - 10% stretch, or what I'd call a Limited Stretch Knit.


If this had of been a blouse, I wouldn't have done anything with the pattern (my body blueprint).  For these pants though, I used my pants pattern that already had been sized down to remove the 2" (5 cm) of ease that is in the low/full hip circumference (i.e. I'd already sized down about 1 to 2 dots) .  So I cut them out without any further ease reduction. But because I wanted skinny and relatively snug-fitting pants, I decided to baste all seams at 3/4" (1.9 cm) for a 'try-on' including the crotch seam (I left CF open so I could step into them). Basting when working with fabric that stretches is always a good idea since all knits stretch and feel different on.  I decided I liked the wider seam allowance, so I then ripped out the crotch seam and proceeded to sew them together.


After the darts were sewn, the double welt pocket went in.  For those of you who would like a sewing tutorial for the Double Welt Pocket, please read this previous blog - http://surefitdesigns.blogspot.com/2014/05/the-double-welt-pocket.html 

Then I ripped the left side seam basting and inserted the invisible zipper -

I'll be showing you how to insert an invisible zipper in a soon-to-be-released new DVD Beginner Sewing Series - Make It Sew.  Please watch your SFD newsletters and this blog for the release date information.

And on the inside, before I inserted the invisible zipper, I covered the bottom end of the zipper to prevent the 'zipper scratchies'.  What the heck are 'zipper scratchies'?  Take a few minutes to read this previous blog - http://surefitdesigns.blogspot.com/2015/03/zipper-scratchies.html 


I definitely kept the 3/4" (1.9cm) seam allowance width on all seams.

Then hemmed the legs with my Coverstitch Machine (which I love and use every opportunity that I can).  For those of you not familiar with a Coverstitch Machine, make sure to watch my Coverstitch (free) videos.  I'll post video #1 here.  To see all 3 in the series, please click here in the SFD Learning Center Video Library.
 

And lastly, I finished off the waist edge with1" (2.5 cm) wide, non-roll elastic.  You'll find the direction for this easy application in with the instructions for Style #1: Flared Leg Pants with Elasticized Waist Edge in the Pants that Mix n Multiply designing book.
 

This was a fun and easy pair of pants to sew.  They're extremely comfortable.  I'm sure I'll get lots of wear from them as summer comes on.  But primarily, I wanted you to see another easy project utilizing the Sure-Fit Designs resources that so many of you already have.


And just in case some of you are new to Sure-Fit Designs, the blouse I'm wearing is the Princess Line Blouse sewn from the Dress Kit and available as a downloadable Fashion Leaflet from this page - 


Happy Sewing,


Mar 22, 2016

Video Tutorials: Button Extensions & Facings

Recently I was asked that by a beginner seamstress 'What's a facing'?  When I ask my husband a question and he looks at me as if I'm from outer space...I say to him, "I wouldn't have asked the question if I knew the answer"!  We all have to start somewhere.

There are 2 types of facings - sewn on and turn-back facings. A facing is either separate piece of fabric or an extension of the fabric that is used to finish and enclose a raw edge   The shape of the facing is a repetition of the area to be faced.  The videos below will help to make this all more understandable.

Here are 3 video tutorials.  Two of them have to deal with drawing facings, but the first one you'll see is on how to add a button extension.  In essence, a button extension, when it is turned back into the inside could also be considered a facing treatment for the area of the garment where you want the buttons - whether that be the front, back or side seam of a garment.

So here you go.  Part 1 - Adding a Button Extension

Part 2 - Adding and drawing facings (in general)

Part 3 - How to draw a V-Neck Facing

I hope you find these helpful.  If you're new to Sure-Fit Designs, you'll find more instructional tutorials in the Sure-Fit Designs Learning Center Video Library.

Happy fitting & sewing!

Mar 8, 2016

The Kimberly Blouse - a new designing project

I love sharing designing ideas with you.  And if you're not currently a member of our Sure-Fit Designs Facebook group, you would have missed the latest designing project.

It's called the 'Kimberly Blouse' in honor of one of our recent Facebook group members.
The most interesting part about this entire project is that it was Kimberly's first ever Sure-Fit Designs project.  Not only that, Kimberly had just recently acquired her SFD Kits.  In less than 1 1/2 months, Kimberly tested and finished her test bodice blueprint and then went immediately into this first project.

I thought this would be a great story and project to share with everyone and Kimberly so graciously agreed to be the topic of one of our Sure-Fit Designs how-to videos.  If you haven't yet seen this video and you have a few minutes, I think you'll enjoy the entire story.


I needed a new blouse and what a great way to show you the exact designing process by way of designing one for myself.  Totally fun, easy to do and almost qualifies for one of our Made in a Day projects.


And needless to say, Kimberly didn't stop there.  She is literally charging down the road and has sewn what she is calling her 'Spring Collection'.  If you want to see more and aren't yet a member of the SFD Facebook group, I invite you to join - all you need is a Facebook page, and then simply request to join.  It is a 'closed' group. All this means is that photos and comments shared are shared only within the group, not for the whole world to read/see.  But you are still welcome to join. Sure-Fit Designs Facebook group


 Here are a couple more pieces that Kimberly has sewn. Yes, of course, all from her Sure-Fit Designs Dress Kit pattern.

Happy Sewing to all of you!


Jan 26, 2016

The Wrap Belt - a 'Made in a Day' project

If you're looking for a unique and interesting belt accessory, there's no need to go further.  This wrap belt, which is closed with Velcro®strips  is fun and easy to design and can definitely be sewn in a day.    It's truly a 'Made in a Day' project.


It's a great accessory for a one-piece style of chemise dress when you want to dress it up with a unique belt.  It also looks great with this blouse and skirt combination.


In case you're interested, both the skirt and blouse are downloadable Fashion Leaflets.  The skirt is the Pencil Skirt: the blouse is the Princess Line Blouse.  Both are drawn from the SFD Dress Kit and can be found on this page - Digital E-Goods.

Check out your fabric stash and see what's suitable.  I used Dupioni Silk for the blue belt and a sequined knit for the black sample.

Download it for FREE

And the best part is, as one way that I can say 'thank you' for being such loyal Sure-Fit Designs customers and a part of the Sure-Fit Designs community, this downloadable Accessory Leaflet is one more gift free for you from Jan. 24 - 30, 2016. Make sure to click this link to download your complimentary copy.


Just in case someone might be reading this and is not yet an SFD member, please click on over to Sure-Fit Designs and make sure you sign up for the SFD newsletter at the bottom of the page - you just never know what free goodies will come your way.

Happy Sewing!
Glenda...the Good Stitch

Dec 29, 2015

Out with the Old & in with the New!

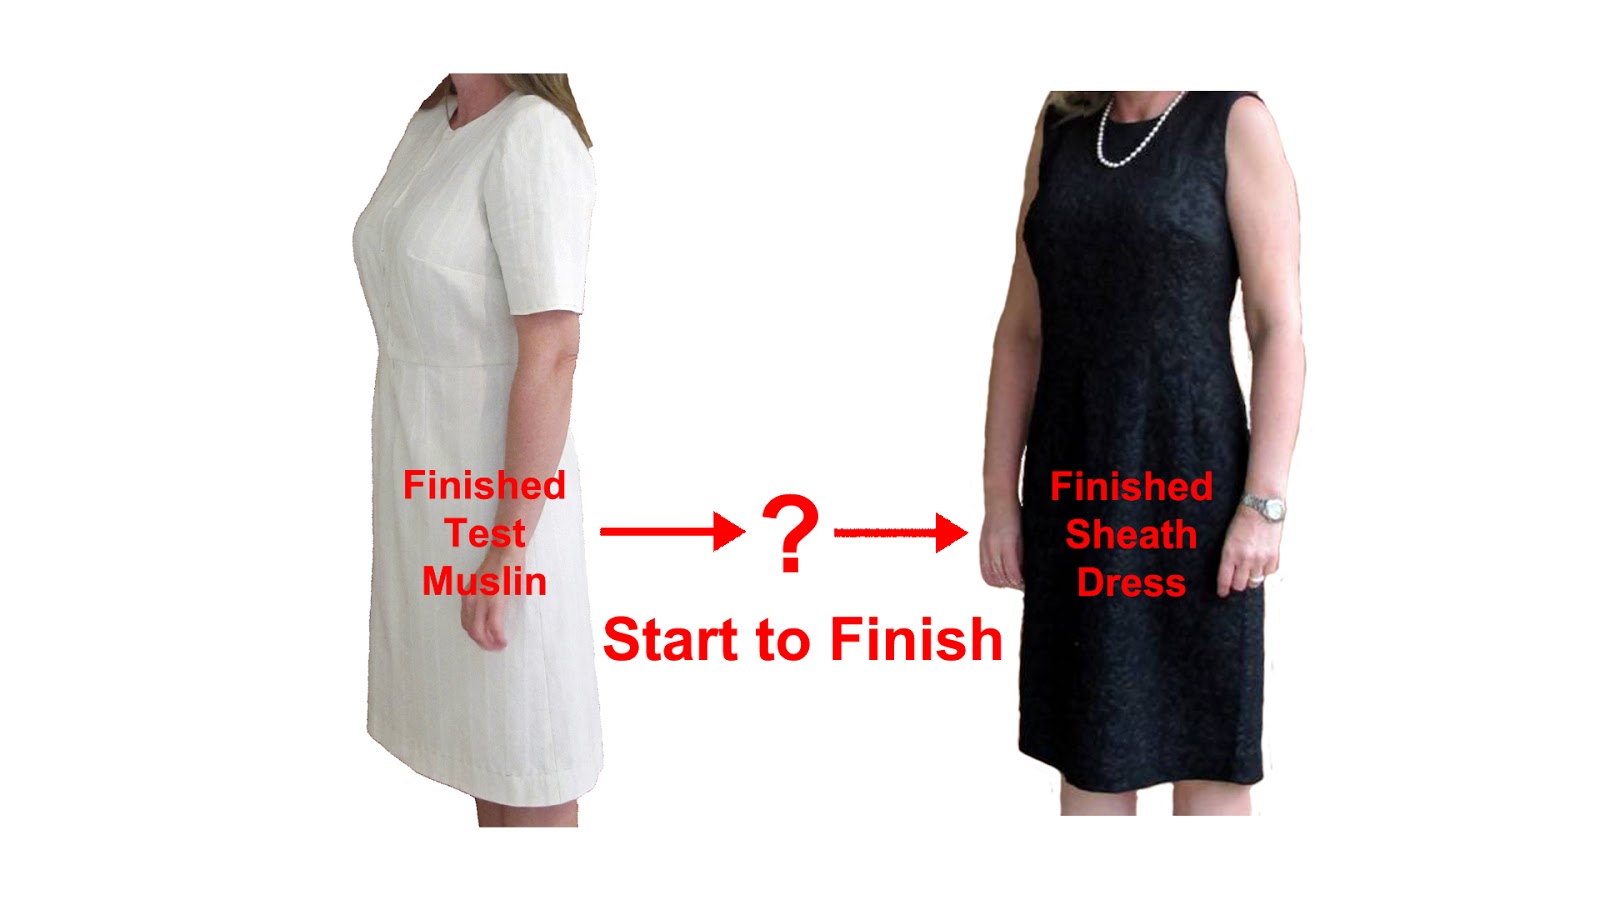
For the last blog post of the year, I'd like to share with you my latest designing video.  It's another one of my 'triple espresso' fast-forward videos showing you how to design the basic sleeveless Sheath dress.  Of course, you need to start off with your well-fitting SFD Dress Kit personalized dress muslin, just as our SFD customer, Caroline, has done.
 
Then, follow the directions in this Sheath Dress Designing video.  When the videos are the 'triple espresso' variety, they show the essence of the designing details without my superfluous talking (and I can tend to get carried away).


Caroline has added sleeves in the pink sheath dress version.  Whether with or without sleeves, when sewn with different fabrics, you'll achieve the best-fitting dress for so many different occasions.  It's a great way to use the fabrics in your stash!
 
We plan on filming more 'triple espresso' designing videos in the coming year along with other projects.  Please comment below if you like this fast-forward format...and what specific designs you might like to see.

Once again, I'll take this opportunity to thank you for being the best customers I could ever want!  Your loyalty and enthusiasm is what spurs me on to always be thinking of the next project to share with you.

Happy New Year!

Nov 10, 2015

Speaking of Copying Ready-to-Wear...

In last week's post, I shared with you the gorgeous dress that Caroline (from Chile) copied from a Dolce & Gabbana original using her perfect-fitting SFD bodice and skirt.  You all know that when you have a tried and true basic bodice and skirt pattern, that you really can copy expensive ready-to-wear designs and know they are going to fit.
Inspiration...let's take a look at this dress.
this Inspiration Dress from Lafayette 148 sells for $598

And the woman who copied it sews her own clothes, though not with Sure-Fit Designs.  Her name is Carolyn - and her blog is Dairy of a Sewing Fanatic.  You might be interested in seeing her accomplishments.

Here's both the front and back views and she looks great in this dress.

If you'd like to read Carolyn's blog for this specific dress creations, Click Here.
How easy this would be to draw the same design lines on your SFD bodice & skirt.

I hope this inspires you to look to ready-to-wear for ideas and sew with confidence.

Happy Sewing!
Glenda...the Good Stitch! 

Nov 3, 2015

The Perfect Fit!

One of our SFD customers, Caroline from Santiago Chile, is a perfectionist. And look at the results!  Caroline wanted her SFD Dress Kit bodice and skirt fit to be just perfect and 'perfect' she achieved.  She'd already sewn a couple of test bodices, and was basically happy with the results.  But she sent me this photo asking how to remove the final issue, being the small fold in the lower third of the armscye.  (See the orange arrow).  Other than this small fold, she'd achieve almost total perfection - wouldn't you agree?
My instructions to her were to fold this small amount out of the armhole and let it open up in the side bust dart.  But when I received her email I was on a short vacation...and she was heading to a wedding the next day.  So she went ahead and sewed her fashion dress without this change.  She copied a Dolce & Gabbana designer dress and off to the wedding she went.
 The D & G designer original.

She didn't have time for the custom belt, but it was coming...just after the wedding.  Isn't this setting in Santiago beautiful - just perfect for a wedding.

But after the wedding, Caroline went ahead with the armhole and bust dart refinement.  Even though this next photo is a little fuzzy, you can see that she overlapped the amount of the fold in the armscye and let it open up in the side bust dart.  See the orange arrows.

This process shortened the front armscye, which means the sleeve cap front needed to be shortened as well so that there wasn't too much to ease into the armscye.  Here's a look at her finished bodice pattern pieces.

Here's the final 'muslin' - fit to perfection.


Then, she hand-crafted the complimentary belt.

The result is stunning.  Wouldn't you agree it fits her to a 'T'?

If you'd prefer to watch a short video on making this pattern refinement, please click on the video below.


Here's one last look at this awesome setting.
I know she'd love to hear your praise...just leave a comment below...she deserves lots of cudos!

Happy Sewing!
Glenda...the Good Stitch!